Decorating Kids Rooms on a Budget
This year we bought our first house. Yeah, yeah, I know, very late in life to be doing so, but it finally happened and we couldn’t be happier. We love our new house!! There is room enough for everyone.
As I’m sure anyone who’s bought a house knows, by the time you’re done with the financing for the house and any repairs needed there isn’t a whole lot left over for frills and fun stuff.
I was however determined that each of our four kids have an attractive room with matching furniture sets and décor that suited their personalities. This was hard to do on a very tiny budget, so it was time to get creative.
Thanks to Pinterest I found many excellent ideas on repurposing furniture. I used some of the kids old furniture, found pieces at garage sales and on Craigslist and repainted them to make sets.
I did all of these in such a rush that I didn’t get step by step photos of the process, but I will post some links to excellent how-to DIY articles where I got my instructions for painting the furniture.
http://diyonthecheap.com/how-to-paint-furniture-a-beginners-guide/
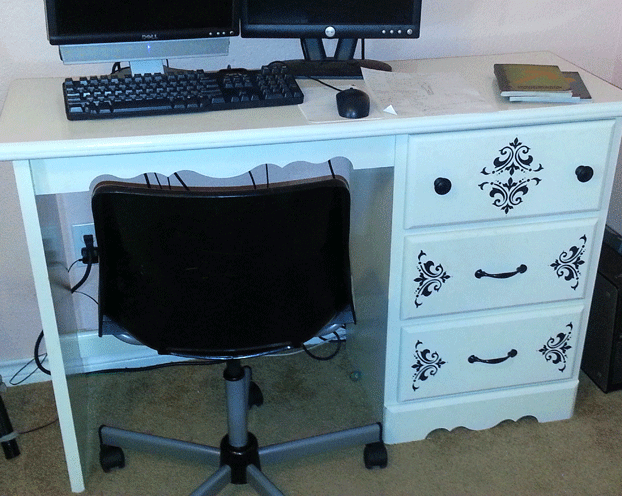
The only thing I probably did differently to any of these and this is thanks to my very practical handyman hubby who wouldn’t let me do anything else, is to paint the furniture with oil-based enamel paint in a gloss (not high gloss) finish.
I know the trend is all towards chalk paint and matt finish, but I am soooo thankful I didn’t go this route as I have had to scrub so much glitter glue, marker marks and kiddo paint stains off of this furniture, that it wouldn’t have survived any other finish. Gloss makes clean up so much easier.
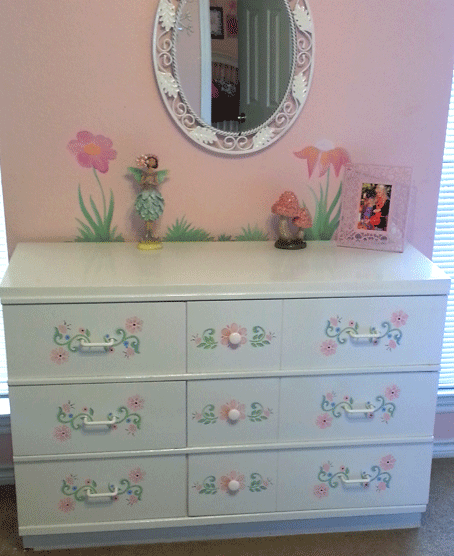
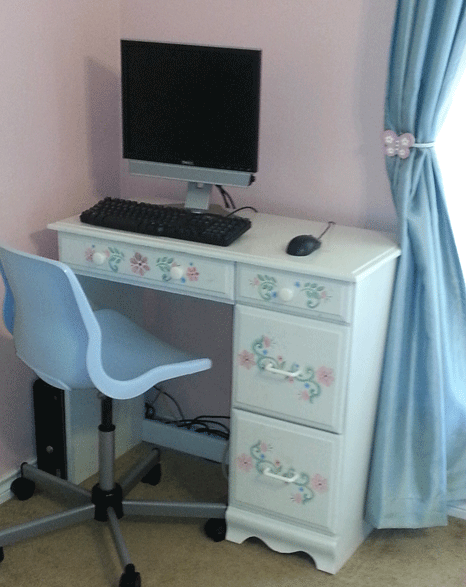
As you can see, I used stencil work to turn some of these odd pieces into sets.
The first step, for me at least was to make a list of the essentials of what I wanted in my kid’s rooms. We don’t have a play room, so each kid’s room in our house has all of their toys, books, etc. in it.
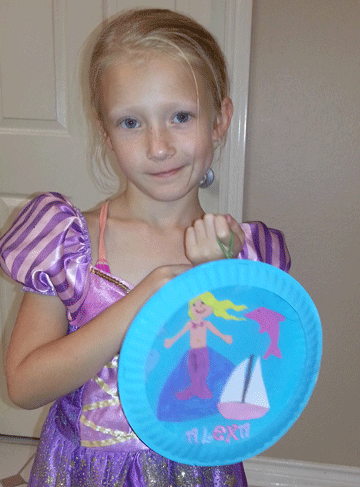
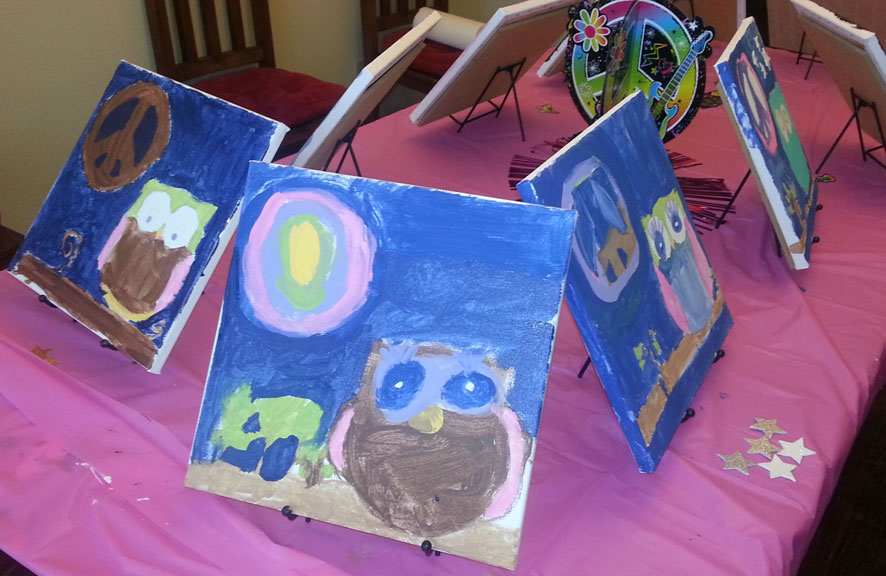
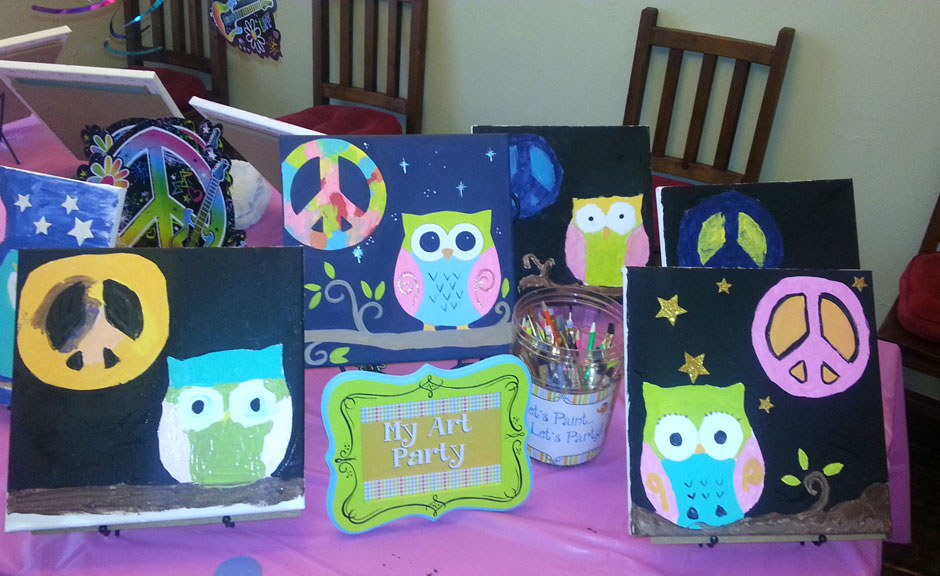
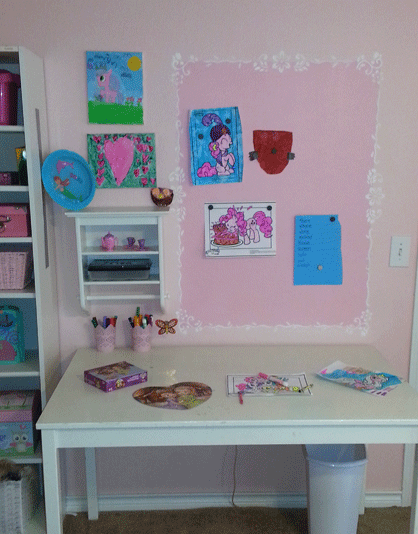
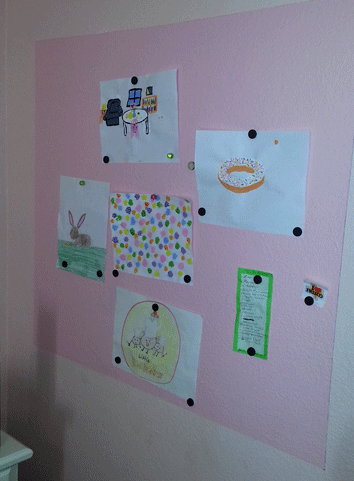
I wanted my girls to have a table for arts, crafts, coloring, projects, etc. in their rooms. This was very needed as they tend to do their projects on any flat surface and so spread mess all over the room (or house when their room runs out of space). They also needed a place to display their art and craft projects.
I then made a map of the room. I just did a simple sketch of where the bed would go, where the desk, dresser, art table, etc. would fit in the room.
I took stock of what I had on hand that would work for each of the spaces and then what I needed still to make each room complete.
Designing for me is the fun part, planning the color scheme and décor for each room.
I talked to each of the kids about what they wanted color-wise in their rooms and any ideas they had for decorating. That was fun as what they had to say was not at all what I expected.
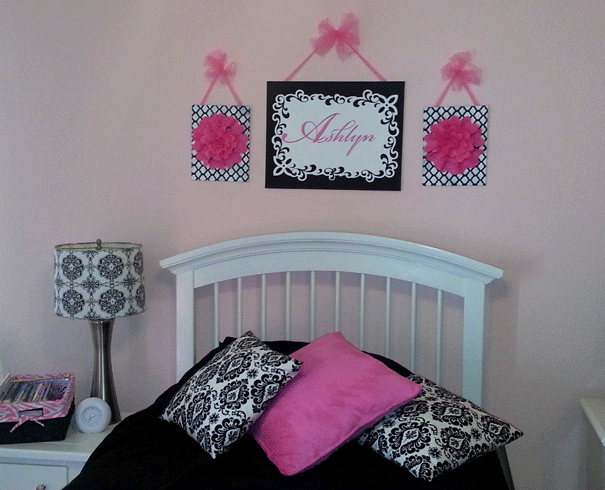
My ten year old, Ashlyn, I was sure would want hot neon colors and I was prepping my heart for oranges, lime greens and hot pinks. Instead she wanted black, white and pink. Initially zebra, but she eventually chose damask. She wanted to be able to “grow into” her room.
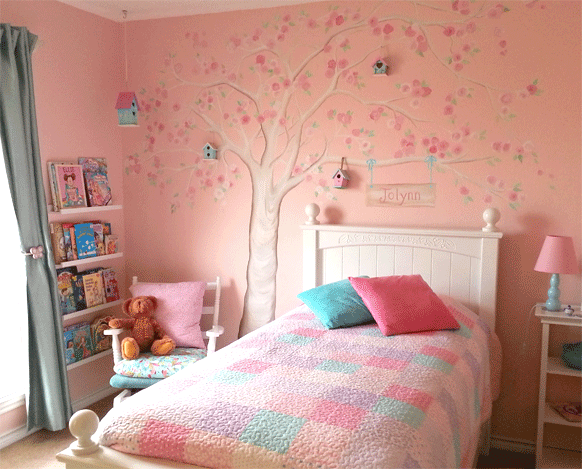
My five year old, Jolynn didn’t care so long as she had clover leaves in her room (St. Paddy’s day had recently passed, this is the only reason I can see for this). I thought for sure I’d get requests for fairies and princesses, but no, just clovers.
That was great as it gave me freedom to do what I liked in her room and make it really cute and girly. I had light blue curtains from our old house, so went with blue and pink.
Alan, my 12 year old wanted browns, blues with some pops of lime green and orange. Who da thunkit?? But it did end up suiting him nicely.
I had a hard time actually with the teen boys as there is so little out there for teen boys. I think I’ll do a post entirely on this subject later, but for now suffice it to say my boys aren’t football or sports team fans, and so I had to get really creative for them.
I only ended up painting a mural in Jolynn’s room. The others like their rooms pretty basic.
One thing I’ve found when decorating on a budget, be flexible with your plan. You have to learn to make things work in your space and with your budget. I had some ideas of things I really wanted in my kids rooms and couldn’t find them within my budget so had to settle with less. I figured I could get them later if I still wanted to.
I basically assigned a color scheme to each room (I like to stick with no more than 3 main colors) and then looked for things within that color scheme and figured out if it would fit or work in.
It really is fun finding treasures this way, things that you never would have thought of, but that look great in the room.
Their rooms are very much a work in progress and I still have a ways to go to get them just the way I want them, but the kids each have a room that they like and that functions very well for them.
Tips:
- Again, with great advice from Pinterest users I found these shelves for Jolynn’s little reading corner at Ikea. They are in the picture frame section and come in several lengths. These were the short ones.
- The girls art tables were bought second hand, but they are Ikea tables too. I really like the size and height of these.
- I placed large trash cans under the girl’s art tables. I don’t know if anyone else faces this, but my girls are constantly cutting, gluing, painting or drawing something and I found that having a large bin under their art table to just push everything into has saved me soooooo much cleaning work.
- The art displays in the girls rooms are made with magnetic paint painted straight onto their walls. I bought mine at Lowes. I just taped off the area of the wall, followed the instructions on the paint (3 light coats) and then painted over it with a darker pink. I used the same stencils for Jolynn’s room as I used on her dresser and desk for the border. Still have to get to Ashlyn’s border, but am planning to use the same stencil as her desk.
 Leila Elgersma